![]()
While using the Safari browser on Mac, it’s easy to see a list of files you’ve downloaded in the past and to clear that download history if necessary. Here’s how to do it.
First, open the Safari application on your Mac. In any Safari window, look to the right of the address bar for an icon that looks like a downward-pointing arrow in a circle. If you see it, click it or press Option+Command+L. (If you don’t see the arrow icon, Safari does not have any download history to display.)
![]()
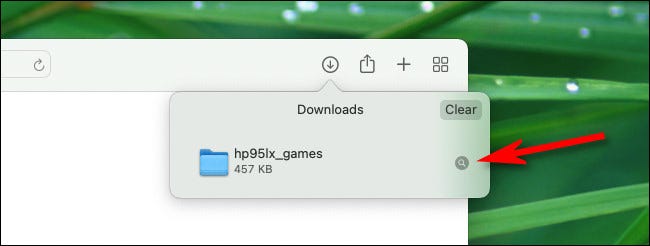
When the download list opens, you’ll see a list of files you’ve downloaded recently. Somewhat confusingly, when you save certain media files such as images, songs, and videos in Safari on Mac, Safari does not include them in the download history list, so you won’t see them there.
To reveal the location of a downloaded file in Finder, right-click the file in the list and choose “Show in Finder.” Or simply click the small magnifying glass icon beside the file.

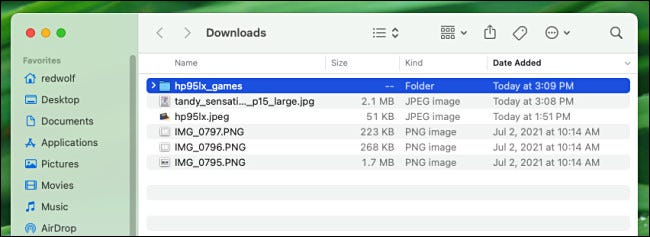
After that, a Finder window will pop up over your Safari window. In it, you’ll see the downloaded file highlighted.
Tip: By default, Safari automatically unzips downloaded files and removes the original ZIP files. To turn this off, open Safari Preferences, click “General,” and uncheck “Open ‘safe’ files after downloading.”

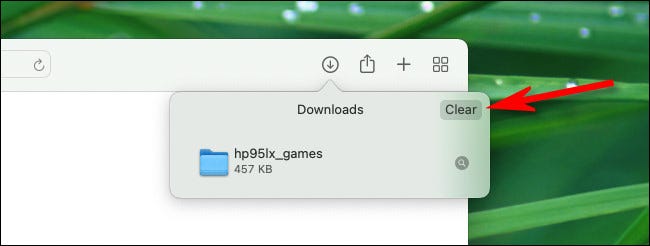
To remove a particular file from the list, right-click it and choose “Remove From List.” To clear the entire list of downloads, click the “Clear” button in the upper-right corner of the Downloads pop-up window.

Safari will wipe the Downloads list and the downloads (arrow) icon in the toolbar will disappear. Any time you need to see the downloads list again—if it hasn’t been recently cleared—click the downloads icon or press Option+Command+L on your keyboard. Happy downloading!
RELATED: What Is Finder on a Mac?


