Tabla de contenidos

If you don’t want people to see certain photos or photo albums, you can make those items private in your Facebook account. You can do this from both your desktop and your mobile phone, and we’ll show you how.
What to Know When Changing Your Photos’ Privacy Settings
When you change your photos’ privacy options, know that your cover photo and your profile photo will always remain visible to the public. If your photo was uploaded by another user, you can untag yourself from the photo but you can’t change that photo’s visibility.
For photo albums, only the user who has posted the album can change its privacy settings. Also, if your photo was shared as part of an album, you’ll have to change the album’s privacy settings to hide your photo.
Later, if you want, you can unhide your photos and albums so everyone can see them.
Hide a Photo on Facebook
If you want to make an individual photo private in your profile, follow these sections.
Make a Photo Private on Desktop
On your desktop computer, launch a web browser and access the Facebook site. Log in to your account if you haven’t already.
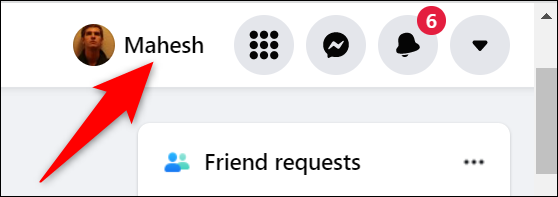
In Facebook’s top-right corner, click your profile name to access your profile.
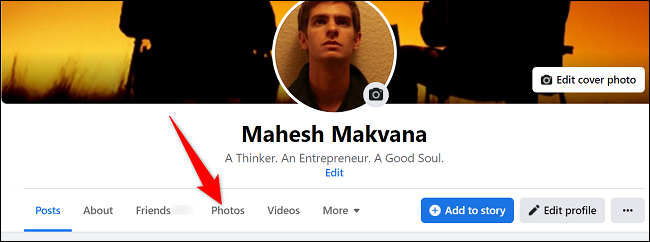
On the profile page, in the tab list beneath your name, click “Photos.”
On the “Photos” screen, select “Your Photos.”

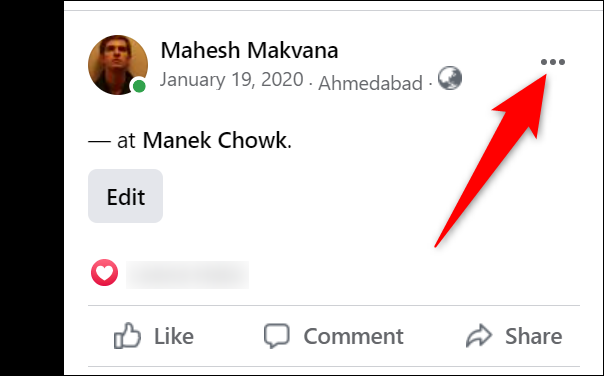
Select the photo that you’d like to make private. When your photo opens in full screen, in the top-right corner, click the three dots.
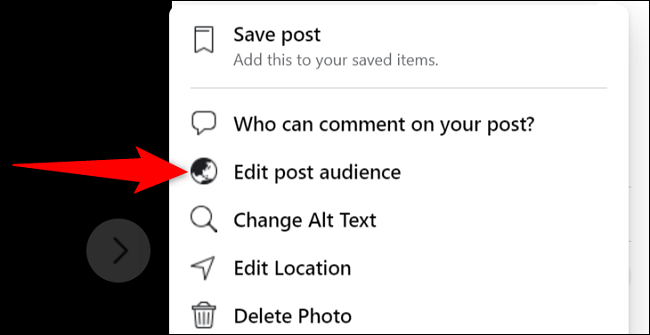
In the menu that launches, select “Edit Post Audience.”
On the “Select Audience” window, you’ll choose who can see your photo. If you’d like to hide your photo from everyone, choose “Only Me.”
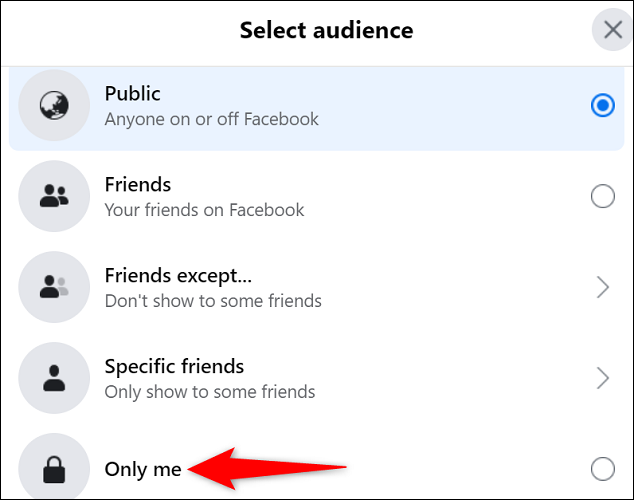
Facebook will immediately make your photo private, and you’re all done.
Like this, there are more ways to protect your privacy on Facebook.
RELATED: How to Protect Your Privacy on Facebook
Make a Picture Private on Mobile
To hide photos from your mobile phone, first, launch the Facebook app on your phone.
In the Facebook app, tap the three horizontal lines. On an iPhone or iPad, you’ll see these lines at the bottom-right corner. On Android, these lines are at the top-right corner.
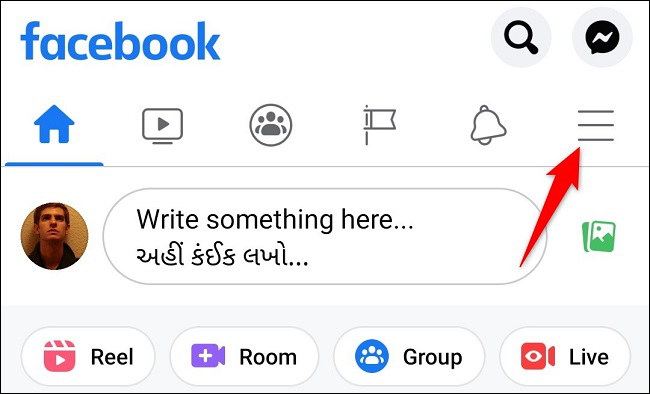
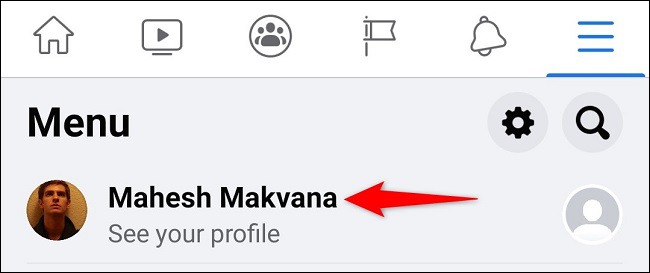
On the “Menu” page, tap your profile.
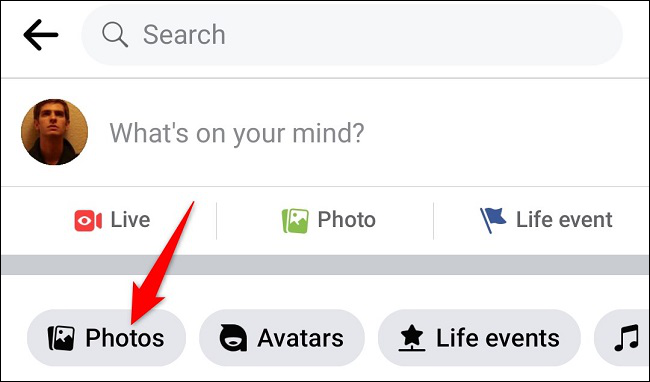
On your profile page, scroll down and tap “Photos.”
On the photos page, at the top, tap “Uploads.”
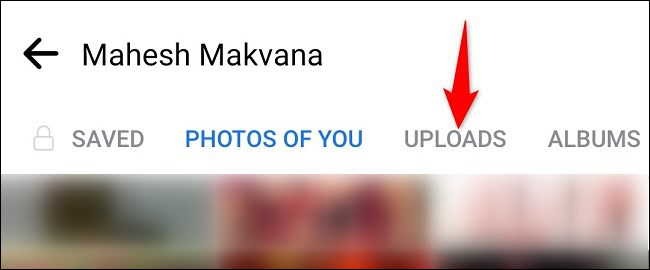
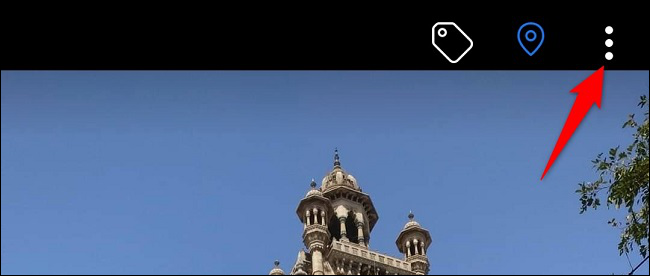
Select the photo you’d like to hide. Then, in the photo’s top-right corner, tap the three dots.
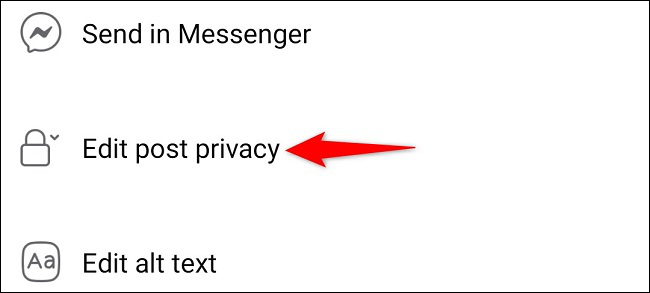
From the menu that opens, select “Edit Post Privacy.”
On the “Edit Privacy” screen, tap “See More” to view all available options. Then choose the audience that can see your photo. To hide your photo from everyone, choose “Only Me.”
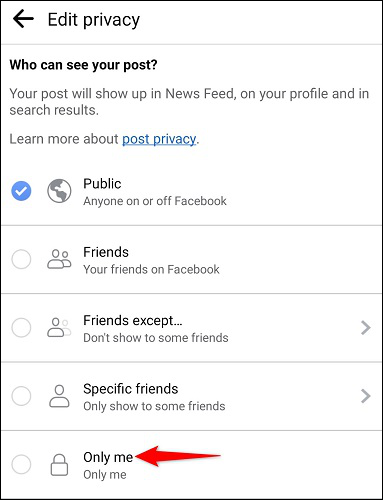
Facebook automatically saves your changes so you don’t have to do anything.
If you don’t want to keep a photo in your profile at all, it’s easy to delete photos on Facebook.
Make a Photo Album Invisible
Facebook also offers the option to make entire photo albums private in your account. Here’s how to do that on your desktop and mobile.
Make an Album Invisible on Desktop
If you’re on desktop, launch a web browser and open the Facebook site. Sign in to your account if you haven’t already.
In Facebook’s top-right corner, click your profile name.

On your profile page, in the tab list at the top, click “Photos.”

On the “Photos” screen, select “Albums.”
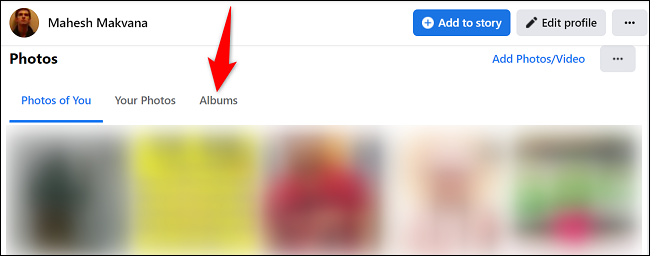
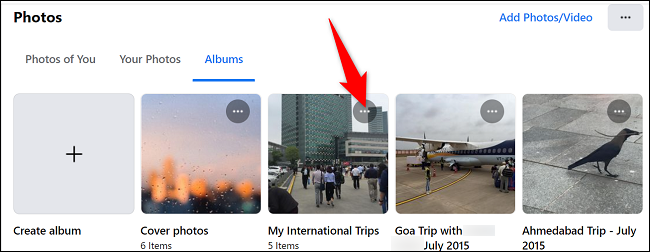
In the “Albums” tab, find the photo album to hide. Then, in that album’s top-right corner, click the three dots.
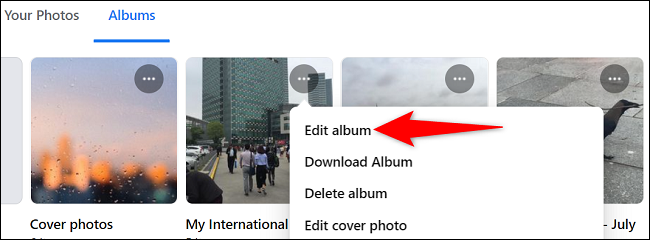
From the three-dots menu, choose “Edit Album.”
On the left sidebar, beneath “Edit Album,” click the current audience.
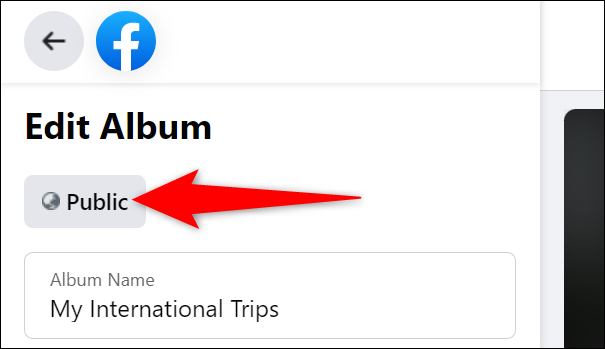
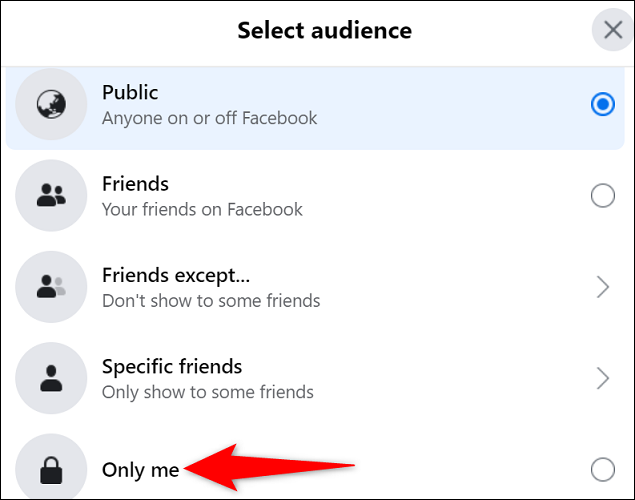
On the “Select Audience” window, choose who can see your photo album. To make the album invisible for everyone, select “Only Me.”
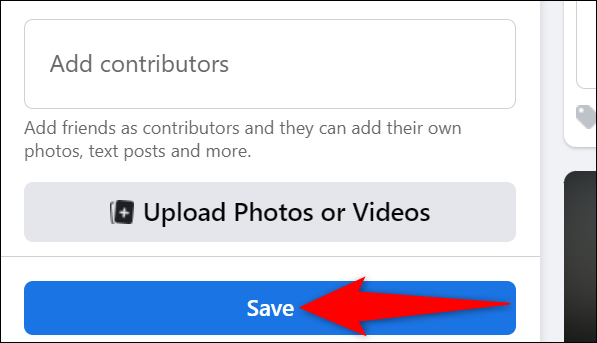
Back on the “Edit Album” page, at the bottom of the left sidebar, click “Save.”
And your selected photo album is now hidden from everyone on Facebook. You can also hide your Facebook posts if you want.
Make an Album Invisible on Mobile
To make a photo album private from your mobile, first, launch the Facebook app on your phone.
In the Facebook app, select the three horizontal lines. On an iPhone and iPad, you’ll see these lines in the bottom-right corner. On Android, these lines appear at the top-right corner.

On the “Menu” page, choose your profile.

Scroll down your profile page and select “Photos.”

On the photos page, at the top, tap “Albums.”
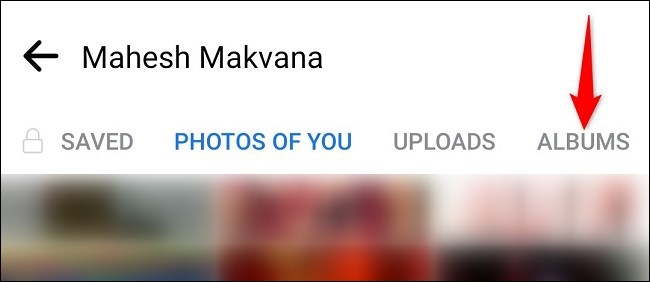
Select the photo album to hide. Then, in the album page’s top-right corner, tap the three dots.
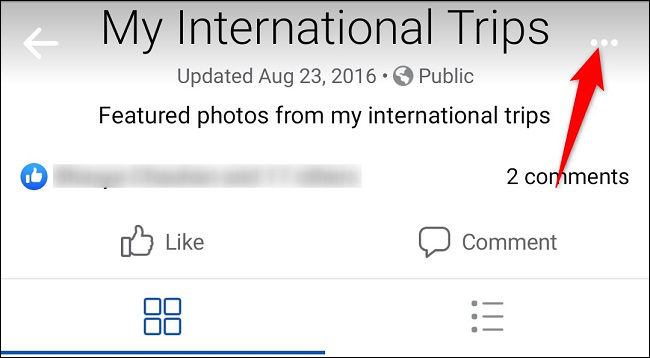
Select “Edit.”
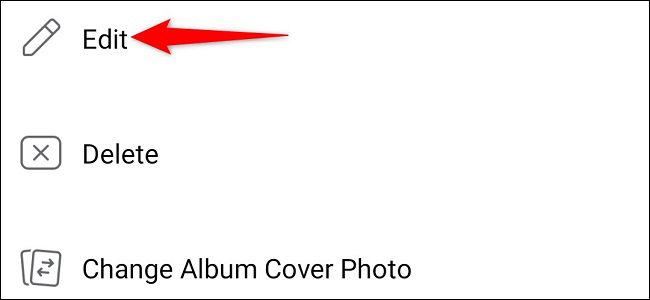
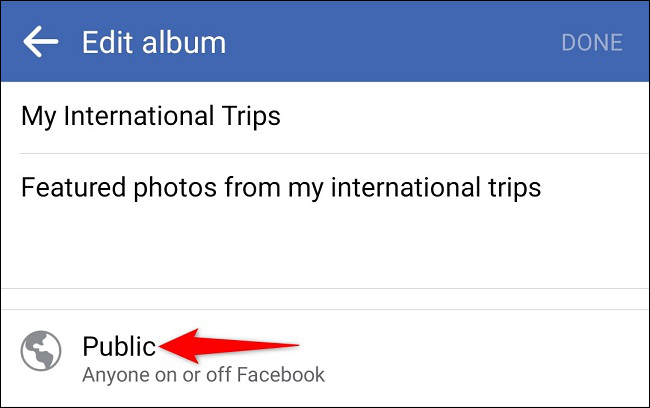
Tap your album’s current audience.
On the “Edit Privacy” page, select who can view your photo album. To hide the album from everyone, tap “Only Me.” Then go back a page and tap “Done.”
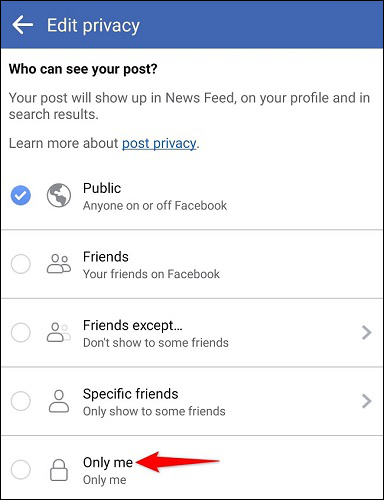
Your selected photo album is now hidden from everyone but you. You’re all set.
While you’re at it, consider changing a few other Facebook privacy settings as well to keep your account protected.
RELATED: 7 Important Facebook Privacy Settings to Change Right Now


